So, you're looking at your yard and thinking, 'You know what this place needs? A nice wood fence.' Maybe it's for privacy, maybe to keep the dog in, or maybe just to spruce things up. I get it. A good wood fence adds a lot of value and curb appeal. But before you head down to the lumberyard and start buying materials, let's talk about what's involved in putting one up yourself here in Spearfish.
Before You Even Think About Digging
This is probably the most critical stage, and where a lot of folks get themselves into trouble. You can't just start digging wherever you feel like it. First off, you absolutely have to call 811 a few days before you plan to break ground. That's the 'Call Before You Dig' number, and it's not a suggestion, it's a requirement. You don't want to hit a gas line or an electrical conduit; that's a bad day for everyone. Trust me, I've seen it happen.
Next, know your property lines. Don't just guess. If you don't have a recent survey, you might need to get one. Fences are a common source of neighbor disputes, and you want to make sure your fence is squarely on your property. You don't want to build a whole fence just to find out half of it is on your neighbor's land.
Check with the City of Spearfish Planning & Zoning office. There are usually setback requirements, height restrictions, and sometimes even specific material requirements depending on your zoning district or if you're in a historic area. You'll likely need a permit, too. Skipping this step can lead to fines or, even worse, having to tear down your brand-new fence.
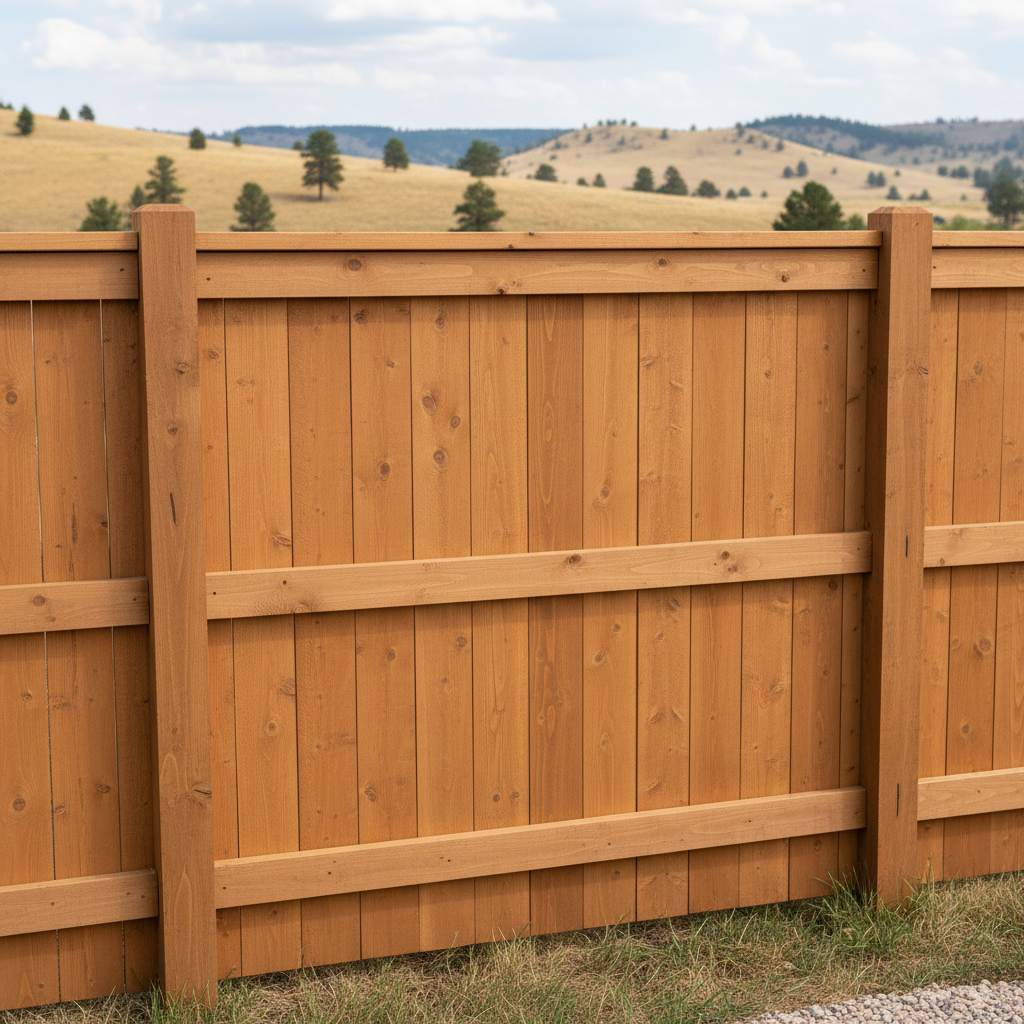
Think about your design. What kind of wood? Cedar, pine, redwood? What style? Picket, privacy, semi-private? How tall? These decisions impact cost, longevity, and how much work you're signing up for. Also, consider the terrain. If your yard isn't flat, you'll need to decide if you're stepping the fence panels or racking them to follow the grade. Stepping is easier for DIYers, but racking looks cleaner.
The DIYer's Work vs. When to Call Mighty Fence Co.
Alright, let's be honest. Some parts of fence installation are definitely doable for a handy homeowner, and some parts are just plain hard work that's better left to folks who do it every day.
- Layout & Post Hole Digging: You can certainly lay out your fence line with string and stakes. Digging post holes? That's where it gets tough. If you've got rocky soil, like we often do around the foothills here in Spearfish, hand digging can be a nightmare. An auger rental helps, but they're heavy and can be tricky to operate. If you've got more than a dozen holes, or if your soil is notoriously tough, this is a prime candidate for professional help. We've got the heavy-duty equipment to get those holes dug right, and to the proper depth (usually 30-36 inches here to get below the frost line).
- Setting Posts: This is crucial. Posts need to be plumb (perfectly straight up and down) and set in concrete correctly. If your posts aren't right, your whole fence will look crooked and won't be as strong. You can do this yourself, but it takes patience, a good level, and knowing how to mix and pour concrete properly.
- Attaching Rails & Panels: Once the posts are set and cured (give them a few days), attaching the horizontal rails and then the vertical pickets or pre-built panels is definitely a DIY job. It's repetitive, but pretty straightforward. A good cordless drill and a level are your best friends here.
- Gates: Gates are tricky. They need to be perfectly square, hung correctly, and operate smoothly without sagging. Getting the right hardware and making adjustments can be frustrating. If you want a gate that lasts and doesn't constantly drag, consider having a pro handle that part, even if you do the rest of the fence.
Look, I've seen plenty of DIY fences that look fantastic. But I've also seen plenty that are leaning, sagging, or just plain wonky after a year or two. It usually comes down to the foundation – those posts. If you're unsure about getting those posts set perfectly, or if you just don't have the time or the back for all that digging and lifting, that's when you give us a call at Mighty Fence Co. We can handle the whole thing, or just the post-setting, whatever you need.
After the Last Picket is Up
You've done it! Your fence is standing tall. Now what? Well, if you used untreated wood, you'll want to protect it. Staining or sealing your fence isn't just for looks; it's about extending its life, especially with our harsh winters and hot summers here in the Black Hills. Give the wood a few weeks to dry out completely after installation before you apply anything.
Regular maintenance is key. Check for loose boards, leaning posts, or damaged sections, especially after a big windstorm. Address small issues quickly before they become big problems. Keep vegetation from growing directly on the fence, as that can trap moisture and accelerate rot.
A wood fence is a great addition to any home. Just make sure you go into it with your eyes open, understand the work involved, and know when it's smarter to bring in a professional. Doing it right the first time will save you headaches and money down the road.